Heavy-duty bolt for genuine connecting rod for Mazda Miata
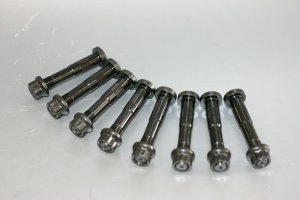
Compatible with NA/NB
コネクティングロッドボルト・強化品 純正コンロッド用(2023年9月〜)
code:mar10083100 For 全車
¥26,290(¥23,900)
Choosing the connecting rod
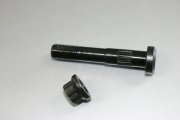
When disassembling the engine, we must think about the connecting rod too.
There are few choices, for example re-usage, new genuine rod, H-beam heavy duty products etc.
However, because of the cost many users consider the re-usage of the genuine rod.
But one thing has to be noted, which is the lack of the bolt’s strength or the deterioration of its strength. When the engine revolves, there is lot of stress on the rod bolt.
Stress on the rod
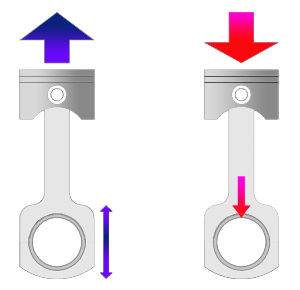
During the compression stroke the piston top is under an excessive stress, the piston top is pushed down in one go until the BDC.
During the exhaust process the piston rises and returns in one go to the TDC.
It is easy to imagine the amount of stress on the rod bolt.
Furthermore, if there is metal fatigue on the rod bolt, it cannot keep up with such an intense vertical movement. In this case the rod’s big end’s circular shape changes and the metal bearing and crank pin come in contact.
The question is if the rod’s big end’s shape can be preserved. This is a very important point.
The genuine rod bolt cannot be purchased as a single item.
There is a possibility of buying a new genuine rod. However, the rod bolt is not being sold separately.
One might reuse the rod bolt however, in many cases the bolt extends. That’s why a heavy duty bolt can offer a solution.
Exchange of the bolt
Even if you don’t use a special jig, using the genuine piston’s pin you can exchange the bolt.
We don’t recommend an exchange using a hammer etc.
We apply pressure but there might be cases when the bolt cannot be removed. In that case we have to check the situation cautiously once more and then continue with the work.
1. We remove the cap from the genuine connecting rod’s big end.
We attach the nuts to the stud and bolt and check the stability.
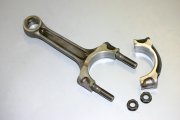
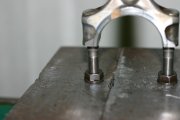
2. It is not recommended to use too much pressure because that might lead to the deformation of the small end.
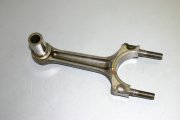
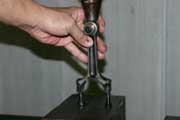

When pressing the rod’s tip we apply vertical pressure to stabilise it.
It is dangerous to apply pressure in a diagonal position.
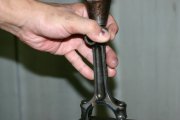
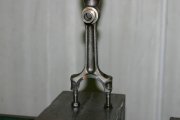
3. After removing the rod bolt we set up a heavy duty rod bolt.
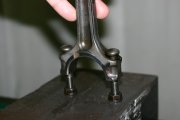
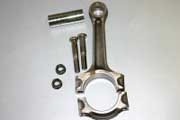
We apply pressure to the bolt top until it sticks properly.
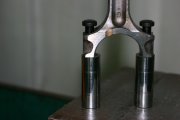
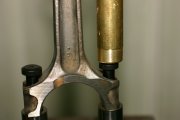
Using a special jig makes the work easier but it is meant for professionals.

Just as on the picture, the secret is to press it tightly and vertically.
Pressing diagonally might lead to problems!
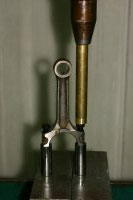
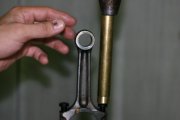
After finishing this work, we set up the cap and temporarily lock it at the determined torque. After this is carried out, you can start assembling the engine. If the bolt is not inserted properly the nuts might become loose and it might lead to serious engine damage.
Please feel free to contact us for further information.
NEW OIL!!

ESTER27 Full Synthetic♪
NEW TOPICS


CARBON TIMING COVER

